
News
News
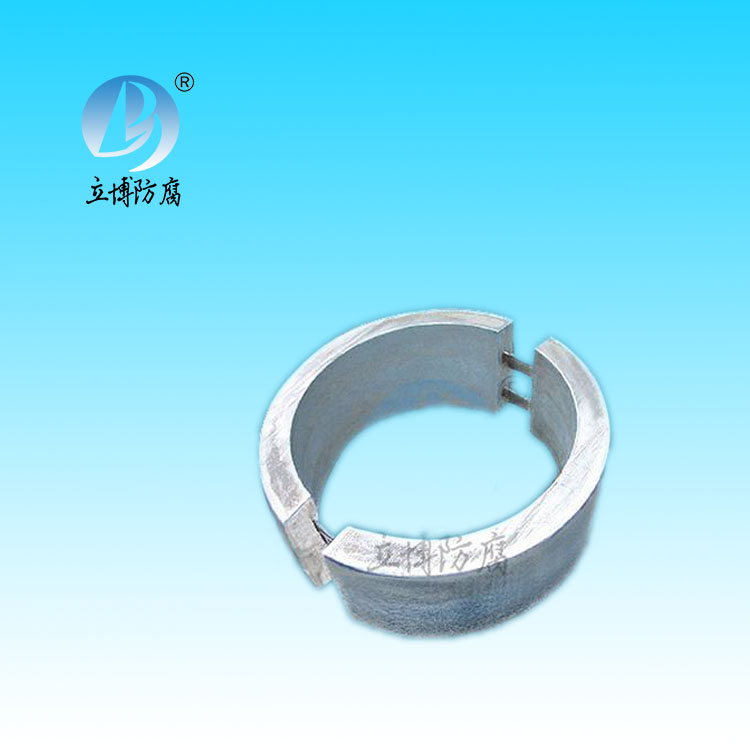
- What is a sacrificial anode
- Basic requirements for reference...
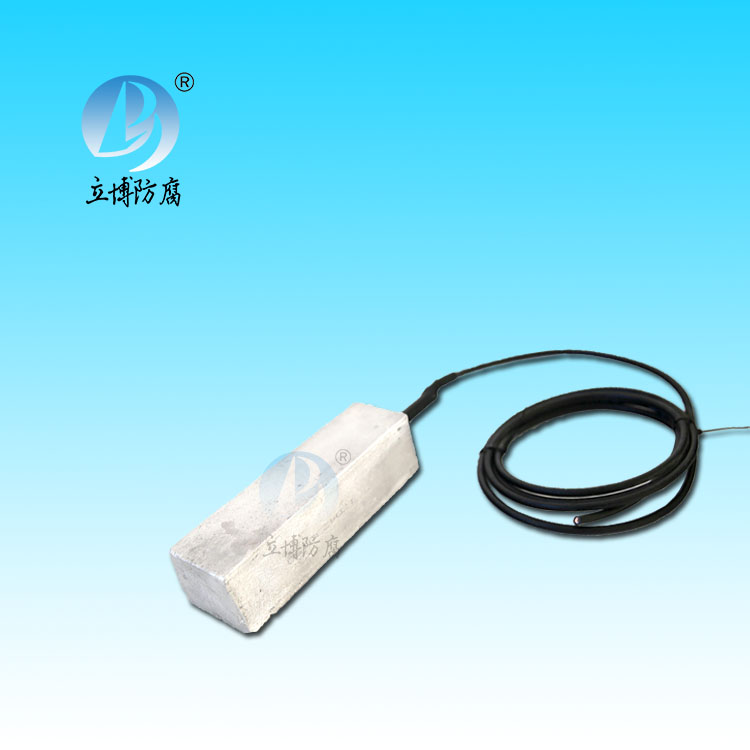
- What does the reference electrode do...
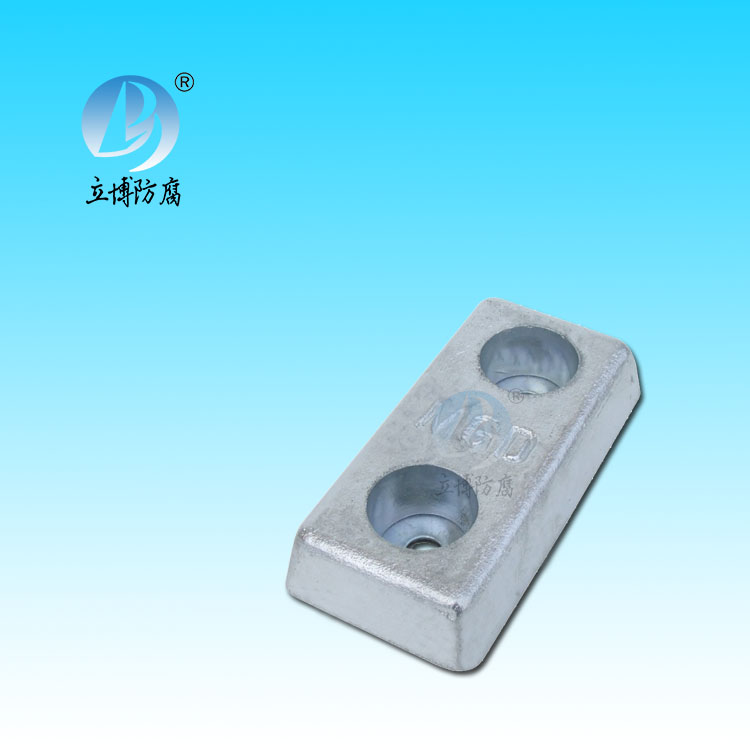
- Why are zinc blocks attached to the ...
- What is the principle of impressed...
- What material does metal structure...
Contact
Phone:18739187123
hotline:0391-7588881
E-mail:970512272@qq.com
Address:Wuzhi County, Jiaozuo City, China
Industry News
Method and procedure for installing zinc alloy sacrificial anode in PCCP piping
- Author:Libo
- Source:wamericanfreedomlawncare.com
- Date:2021-06-11
- Click:0
Method and procedure for installing zinc alloy sacrificial anode in PCCP piping
1. Applicable standards
Code for construction and acceptance of water supply and drainage Pipes GB50268-97
Code for structural design of water supply and sewerage pipes GB50332-2002
Code for construction and acceptance of water supply and drainage engineering structures GBJ141-90
Code for structural design of water supply and drainage engineering structures GB50069-2002
Prestressed concrete pipe and prestressed steel cylinder concrete pipe for buried pipe core wrapped wire in water supply and drainage engineering
Road structure design specification "CECS140:2002" concrete engineering construction and acceptance code "GBJ50204-2001
Polysulfide sealing paste JC483-92
National Universal Water Supply and Drainage Standard Atlas S1, S2, S3
Ii. Pipeline foundation
In general, the pipeline foundation is based on undisturbed manual excavation (or mechanical excavation). According to the requirements of the design drawings, the foundation should be overdug and backfilled with gravel or medium coarse sand to reach the elevation of the outer bottom of the pipe and wrap the Angle. Tamp in layers throughout the width of the trench. The compaction coefficient shall meet the requirements of the design document.
Three, the installation program
The installation procedure of prestressed steel cylinder concrete pipe is:
The pipe is suspended into the groove → clean the pipe bore and pipe mouth → clean the rubber ring → brush the lubricating oil (vegetable oil) on the rubber ring → primary alignment → pull the socket into the socket with the guide chain → check the middle line and the elevation → first interface pressure test → adjust the pipe height and the middle line → second interface pressure test → lock the pipe.
Four, along the curve installation interface allowed corner
The concrete pipe of prestressed steel cylinder is installed straight without protrusion or bending. When the vertical or horizontal Angle of PCCP pipe is greater than 10°, pipe interfaces and steel elbows of 2.4° and 4.8° shall be used for borrowing and turning, but the borrowing and turning Angle of each interface shall not be greater than 0.25°. When the Angle is greater than or equal to 10°, the corresponding steel pipe fittings are used.
PCCP pipeline is strictly forbidden to be used after truncation.
Five, installation method
Guide chain (hand chain) pull in method
On pipe installed solid chain, wire rope in to be drawn into the pipe socket rack back beam, the wire rope and chain guide (chain) tightening even good for is, on both sides of the synchronous chain hoist, will have good apron set of pins into the mouth, even borrow turn construction, should be pipe interface borrow corner again after the completion of installation and adjustment.
Vi. Lock pipe method
After laying the pipe, in order to prevent the nozzle of the first several pipes from moving, wire rope and guide chain can be used to lock the pipe at the back.
Seven, safety management matters needing attention
1. Before installation, the pipes should be inspected one by one: check whether the pipes and socket are damaged one by one. The socket has no damage, whether the ovality is in the allowable range, whether the outer protective layer falls off, etc. The socket shall be cleaned. If there is a flash burr, it shall be treated to prevent the rubber sealing ring from being scratched. It can be used after passing the inspection.
2. When the prestressed steel cylinder concrete pipe is installed, the working face of the socket and the rubber ring should be cleaned. There should be no pores, cracks, heavy leather, plane distortion, visible impurities and defects that hinder the use and affect the sealing effect on the surface of the rubber ring. When installing, the rubber ring should be evenly sliding in place.
3. The pipe shall not be lifted too high and installed slightly away from the bottom of the groove, so that the rubber ring of the socket can be accurately connected to the socket.
4, when installing the interface, the top and pull speed should be slow and uniform, and there should be a special person to check the slide of the rubber ring. If the slide is not uniform, the top and pull should be stopped. After adjusting the uniform position of the rubber ring with a chisel, the top and pull should continue to reach the predetermined position of the rubber ring.
5. The concrete foundation shall be poured strictly according to the design requirements in some sections. After the foundation reaches the design strength, the prestressed steel cylinder concrete pipe shall be installed according to the above construction technology.
Viii. PCCP pipeline paving requirements
1. Twenty-eight days before the construction, the contractor shall submit the laying construction plan to the supervisor for examination and approval. If the plan needs to be changed during the construction, the supervisor shall agree.
2. Before installing the pipes, the mud and sand in the pipes must be cleaned one by one. The damaged pipes should be repaired and installed with the consent of the supervisor. The badly damaged pipe cannot be installed and used.
3. On the basis of fully completing the preparation work before pipe laying, the installation of reference pipe should be strictly controlled during pipe laying. The so-called reference pipe is the first pipe that is first put into the groove in a pipe section, and the technical conditions such as the elevation and center line of this pipe should be controlled within a very accurate range. Generally, the center of the pipe trench is used to control the alignment of the pile hanger line and the level is used to control the elevation. The installation of the whole pipe section begins after the pipe is stabilized.
4. According to different geological conditions, the semi-mechanical lifting method should be adopted when the pipe is lowered, among which the crane is the most convenient, and no one is allowed to hoist the pipe under the operation. When running the pipe, measures should be taken to prevent impurities from entering the pipe or pipe fittings. There should be no residue, cloth strips, appliances or other debris in the pipe.
5, when laying the pipe to find the timing can first measure the size of the mark rod, adjust the elevation and slope according to the standard, the mark rod should be vertical above the pipeline. At least three marking poles shall be erected for each section of pipeline with variable slope. After the reference pipe is stable, other pipes can be installed from one end or both ends of the reference pipe at the same time. The method is to align the center of one end of the pipe with the center of the reference pipe, and align the other end with the center pile at the bottom of the trench, and then check the elevation with the level instrument. Finally, align the pipe mouth with the alignment clamp and adjust it to the design requirements.
6. The special light pipe 15mm smaller than the inner diameter of the pipe is called the inner detection mold, which can be pulled forward at any time in the process of pipeline construction. When the construction is suspended, the pipe end should be blocked with pipe plug. The pipe tries to prevent floating in the trench where there is a possibility of groundwater infiltration.
7. PCCP pipe shall be placed according to the provisions of construction design before installation, and the location of placement is convenient for lifting and transportation.
8. When the crane is under the pipe, the position of the crane shall not affect the stability of the trench slope. The safety distance between the crane working near the high-voltage transmission line and the line should comply with the regulations of the electrical management department.
9. The pipeline should be installed after the quality inspection of trench foundation and pipe foundation is qualified. The installation should start from the downstream, and the socket is toward the direction of construction.
10. The working pit of the interface should be excavated in time for pipe laying, and the excavation size should comply with the provisions in Table 4.1.7 of GB50268-97.
11. When the pipe section goes into the groove, it shall not collide with the groove wall and the pipeline under the groove. The natural foundation shall not be disturbed when pipes are transported in the trench.
12. Concrete piers shall be set at the pipe bend. For the specific position and requirements of the piers, see the design drawings.
13. The clearance of pipe socket after installation should be controlled at 25mm, with a positive error of 3mm and a negative error of -10mm.
14. After the installation of the pipe interface, carry out the interface pressure test, and weld the conduction parts after passing the test. The conductor is φ 6mm copper cable, and the length of one is 400mm. The welding is brazed.
15. The pipeline is provided with flexible joints, and its foundation should be filled with 30cm thick medium sand.
Before each shift is installed, check the previous pipe that has been installed. If the displacement is found, re-correct the reset, and continue the installation after passing the test.
16. All pipeline installation and acceptance shall be carried out in accordance with national standard GB50268-97.
Nine, rubber ring installation requirements
1, the rubber ring site inspection shall not have pores, cracks, skin and joints.
2. The rubber ring should be evenly and flatly arranged in the groove on the socket, and should not be distorted or broken.
3. The socket around the pipe joint should not be swollen and cracked.
4, the sealing rubber ring should have no grooving, extrusion and other phenomena.
5, double O type rubber ring interface, according to the following provisions for single port hydraulic test:
A Spring pressure timing accuracy is not less than 1.5, the maximum range should be the test pressure
The force
1.3 ~ 1.5 times, the nominal diameter of the case is not less than 150mm, calibration before use.
B the test pressure is 0.35mpa.
C Constant pressure for 5min, no obvious pressure drop, no leakage, the interface pressure test qualified.
If the hair
The existing pressure drop phenomenon, the instrument, test path machine joints carefully check, find out the reason for the pressure drop; If the sealing ring has been damaged, pull out the pipe fitting, replace the sealing ring, and repeat all the process of laying the pipe fitting; If it is confirmed that there is a problem with the clamping ring of the sealing ring of the socket of the pipe fitting, pull out the pipe fitting, repair it according to the regulations, and repeat the joint pressure test until the test is completely qualified, then install the next section of pipe fitting.
D Seal pressure nozzle as required after pressure test.
E single port pressure test can not pass and is determined to be water leakage interface, find out the reason, reinstall;
6. Frozen rubber rings shall not be used during construction in winter.
Ten, the inner interface seal
After filling the backfill to the top of the pipe, seal the inner interface in time according to the design document.
11. Grouting of external interface
After the pressure test of pipe interface is completed, cement mortar (1:2) is used for grouting of external interface.
1. Drill the four legs of the iron sheet, wear the wire into the gap at the interface of the two tubes with the wire from the bottom to both sides.
2. Two iron wires are fixed on the concrete skin of the bearing and socket of the external interface respectively, so that a cavity is formed between the white iron sheet and the concrete protective layer from bottom to top.
3. Fill the cement mortar into the cavity between the white iron sheet and the concrete protective layer from the interface in the pipe, and pull the iron wire in the concrete protective layer to make the concrete fully vibrated to ensure its compactness.
4. After the external interface tube under the chest cavity interface mortar is filled, the cement mortar is filled into the upper part of the external interface with mud wipe and the slurry is extracted and pressed flat. After the external interface grouting, water spraying or film curing is carried out regularly.
12. Piping joint processing requirements
Installation requirements on the outside of the connector
1. Pipe joints should be grouting or artificial plastering on the outside;
2, cement mortar with 1: 2 made of flow state;
3. The width of the linen cloth and plastic braided tape wrapped on the outside of the joint is 15 ~ 20cm;
4. After the mortar reaches strength, wrap the outside of the mortar with epoxy resin anticorrosive tape for one layer. The standard anticorrosive tape width is 200mm, and wrap it three times, each lap width is 50mm. The construction method is as follows:
5. Before winding, use steel wire brush and other tools to remove the dirt, oil and other sundries on the outer surface of the pipe end. When there is dew or water stains on the outer surface of the pipe, wipe it clean and dry with cotton yarn, and the water content on the surface is less than 6%.
6, the concrete surface of the pit, should also play putty wipe flat. The putty is made of mixed with good shaping glue and talcum powder of about twice the weight. It should be adjusted and used up in 2 hours after being adjusted.
7, glue and tape: glue tube surface must be dry before the required amount of glue, shall not be leakage, immediately after glue bound baseband, 20 ~ 25 mm, lap width must be taut, make contact closely, the surface is flat bulge, part of the glue fluid leaking from belt surface (otherwise showed insufficient amount of glue), immediately after a tie up with to evenly over with a layer of glue.
8, the anticorrosive layer after the static dry, at least 8h to keep the rain, do not bubble water.
9. In order to make the anticorrosive layer at the interface closely connected with the anticorrosive layer wrapped on the pipe body, it is not only required that the interface anticorrosive layer be overlapped on the anticorrosive layer of the pipe body not less than 100mm, but also that the overlap is conical and smooth. Therefore, before corrosion prevention at the interface, it is necessary to use a knife to cut the pipe body into slope stubble, so as to make the lap close and not cause hollow or fold.
10. Quality inspection. Inspection for appearance, thickness, leakage points and adhesion in accordance with the conditions and methods specified in SY/T 4477-96.
Installation requirements for the inside of the connector
1. Fill the inner side of the joint with polysulfide two-component sealing paste to seal, and the filling thickness is 2cm.
2, with steel brush and brush carefully clean the bonding surface, do not dust, no attachments, and acetone to wipe off the oil, keep the bonding surface dry and clean.
3. Press the sealing paste into the gap with the extrusion gun, and wipe it with a scraper to keep it even and smooth.
4, and then in the joint grouting or artificial paste;
5, cement mortar with 1:1.5 ~ 2 made of flow state;
6. Smooth the surface of the tube.
Technical requirements for polysulfide two-component sealing paste
Performance index of polysulfide two-component sealing paste
PCCP Pipe installation method and procedure
Technical requirements for cement mortar
1, the sand should be hard, clean, well-graded natural sand, in addition to the current national standard "ordinary concrete sand quality standards and inspection methods", the weight of the soil, mica and other harmful impurities should not be greater than 2% of the total weight, the maximum particle size should not be greater than 1.0mm. Sand particle size gradation should be selected in mortar mix design according to construction technology and site construction conditions.
2, cement should be used above 32.5 grade Portland, ordinary Portland cement or slag Portland cement.
3, mixing water should be used to cement mortar strength, durability of clean water has no effect.
4, mixed with appropriate shrinkage compensation material to make it a non-shrinkage cement mortar.


 客服QQ
客服QQ